VCOM 2950 Visual Communication Applications
Instructor: Phil Loubere
Photoshop Project
Using some of the techniques we covered in the exercises, we're going to create a poster for a toy company by combining parts of several different images into one document, along with some text.
Grading criteria
Design: Just as in the Illustrator project, the major goal of this project will be to use design principles to have a successful outcome. These are the same principles used in that project: Gestalt principles of proximity, similarity and continuation, and the more general principals discussed in that section.
Competency: You should be able to demonstrate basic ability to combine the different images into one document with multiple layers, apply different blending modes and effects as necessary, and create a work file, a print version and a web version according to the instructions.
Here is a link to download the project folder. Further instructions are in the folder:
These videos will provide some examples of how to do the project. Total time is about 14 minutes.
Here is some practical information to help you complete the project.
Selecting and copying the saucer
In this case you will need to draw a path around the saucer in order to select it, copy it and paste into the planet background.
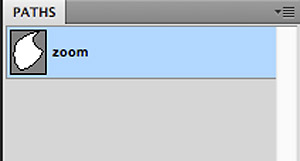
The saucer document has two layers. the top layer is simply a template to help you trace the saucer with the pen tool. Remember that you draw the path with the Pen tool, and then use the path to make a selection with the Paths panel.
After the path is drawn, and with the path still highlighted in the Paths panel, make the selection from the popup menu in the upper right corner of the panel.
**Make sure you are on the bottom layer in the Layers panel when you make the selection!
Next, copy the selection using the command under the Edit menu.
You are now done with the saucer image. Open the background image, and paste the saucer into it. It will automatically be placed on a new layer. You can now use this document for your project.
Scaling, rotating, modifying
All these commands are under the Edit-Transform menu. You can also use 'Free Transform', which allows you to do all these operations at once.
Layers
Whenever you paste something it will automatically be placed on a new layer. You can also create new layers from the Layers panel popup menu. Remember that blending modes are applied to layers, not to shapes as in Illustrator. So the stacking order of your layers is important. You can drag layers above and below each other in the Layers panel. A layer’s blending mode only affects its interaction with layers underneath it.
Importing text and vector objects from Illustrator
The videos reference an Eagle exercise which we didn’t do this semester. In that exercise a line of text is imported from an Illustrator document. It’s not complicated to import vector objects into Photoshop and convert them to bitmap, but there are a few things to keep in mind.
The method that gives you the most control is to open the Illustrator document, make a selection, and copy it. Then go to the Photoshop document you want to add it to, and choose Paste from the Edit menu. You will then get a dialog box with several options:
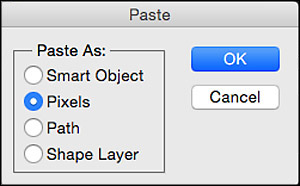
Pasting as a Smart Object retains some of its vector qualities, but if you want to edit it, such as changing its colors, you have to open it again in Illustrator, make the changes, and update it in Photoshop. It’s usually easier to paste as pixels, which is the default.
When you hit OK, the vector object will show up in a box with an X through it. This indicates that it hasn’t been converted to pixels yet.
Important! Before you hit Enter or Return to complete the operation, scale the object to the size you want by dragging the corner handles. To keep it proportional, hold down the Shift key as you drag the handles. Unless you purposely want to skew it, keep it in proportion!.
Once you press the Enter or Return key, the vector object will be rasterized, that is, converted to pixels. It will automatically be on its own layer.
Example
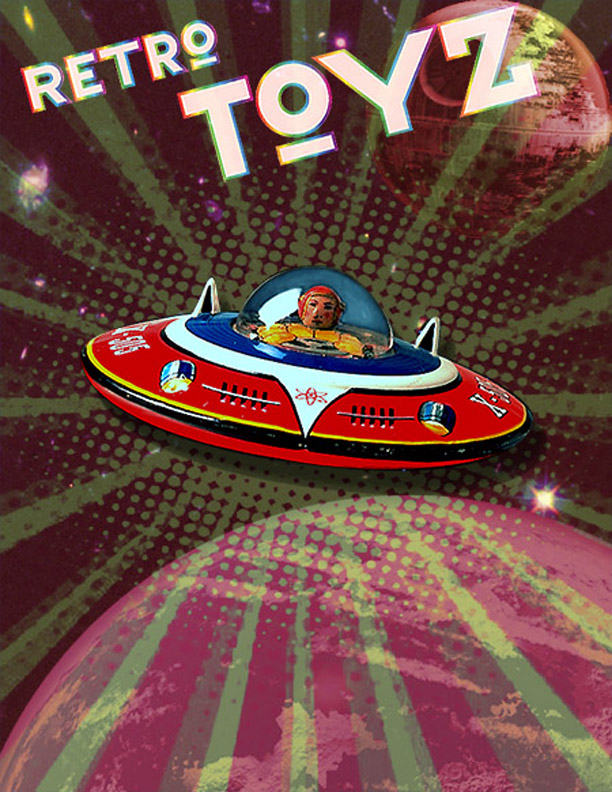
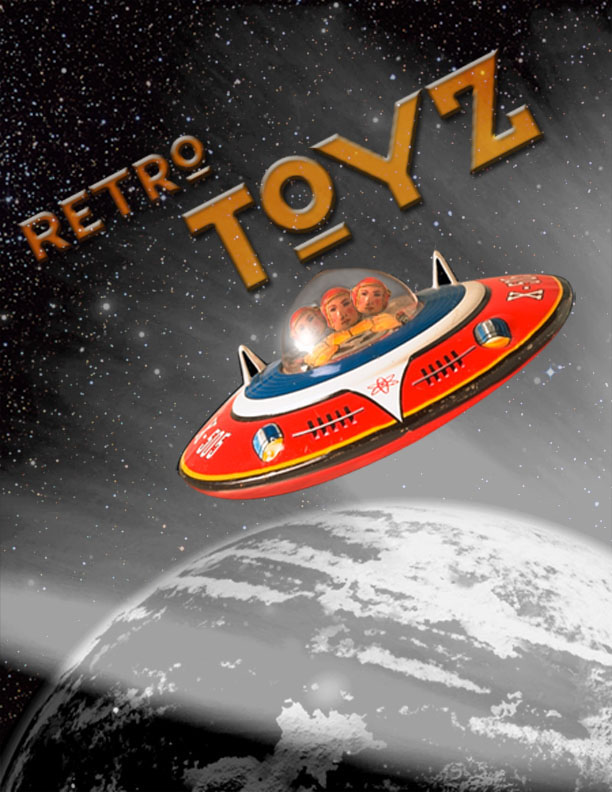
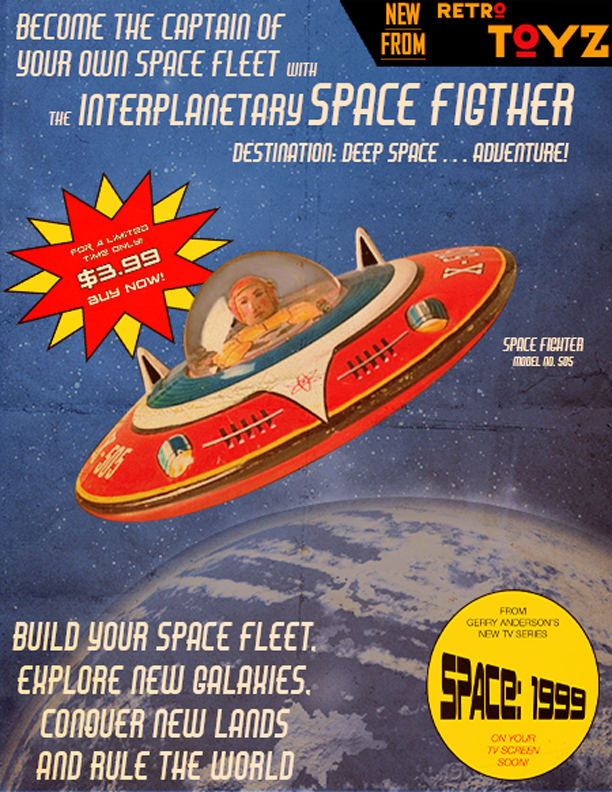
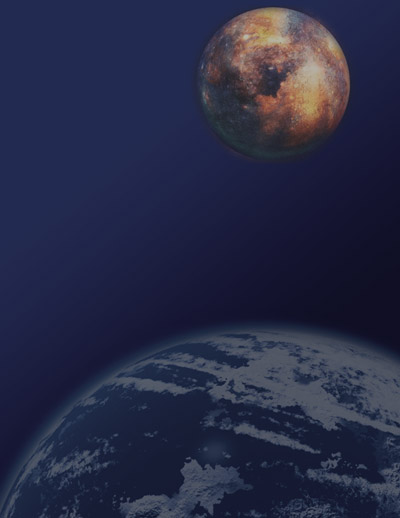
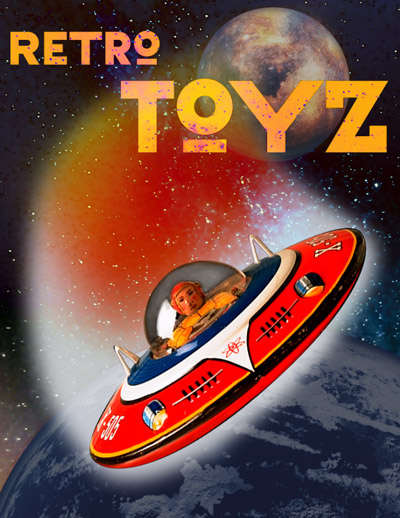
Here is an example of how to do this project, using layers and a few effects. We start with the background image, which we will transform into our project work file. The entire image has been darkened using Image-Adjustments-Levels (you can also use Curves).

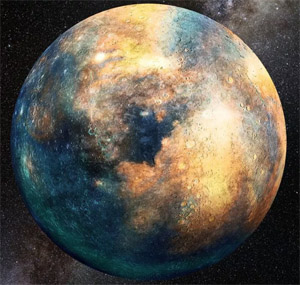
An image of a moon was found online. A path was drawn around the moon to make a selection of it, copied, and then pasted into our project. Photoshop automatically places it on a new layer when this is done. It was then scaled down (Edit-Transform-Scale).
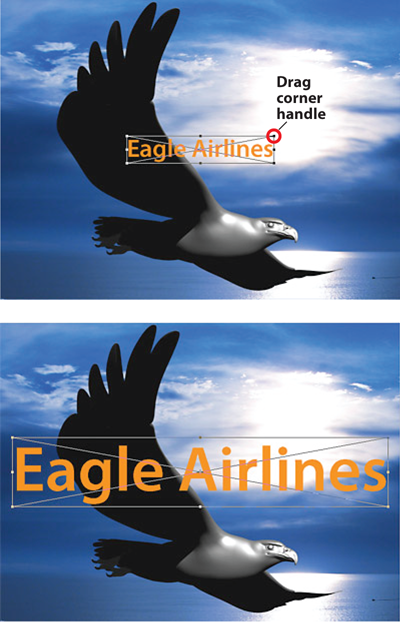
The title from the Illustrator document was imported as explained above. It also is automatically placed on a new layer.
IMPORTANT! When you paste the title as pixels, scale your text BEFORE hitting the Enter or Return key to complete the operation.
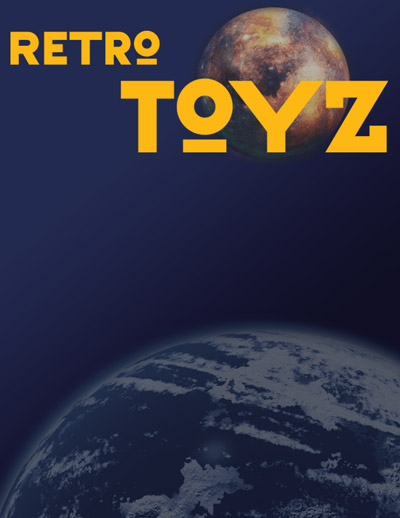
An image of a starry sky was found online. It was very large, 2,000 pixels wide, which allows us to use just a portion of it.

We want to paste it into a selection of the background sky. So on the background layer we can use the Magic Wand to select all the sky, excluding the planet. Hold down the Shift key to add to the selection as you go.
Then, with the starry sky image copied, paste it into the selection:
Edit menu > Paste Special > Paste Into.
This will also automatically create a new layer with a layer mask.
The new layer will be directly above the background. In the Layers panel, if we want we can drag it to the top, above the title layer. It will at first cover the title, but if you change the layer’s blending mode to Difference, it will blend with the layers beneath it.

Now let’s open the saucer document, draw a path around the saucer and use that to make a selection, copy the saucer, and paste it into our project, creating yet another new layer on top. If it’s not the topmost layer, drag it to the top in the Layers panel.
We can scale and rotate it using Edit-Transform commands.

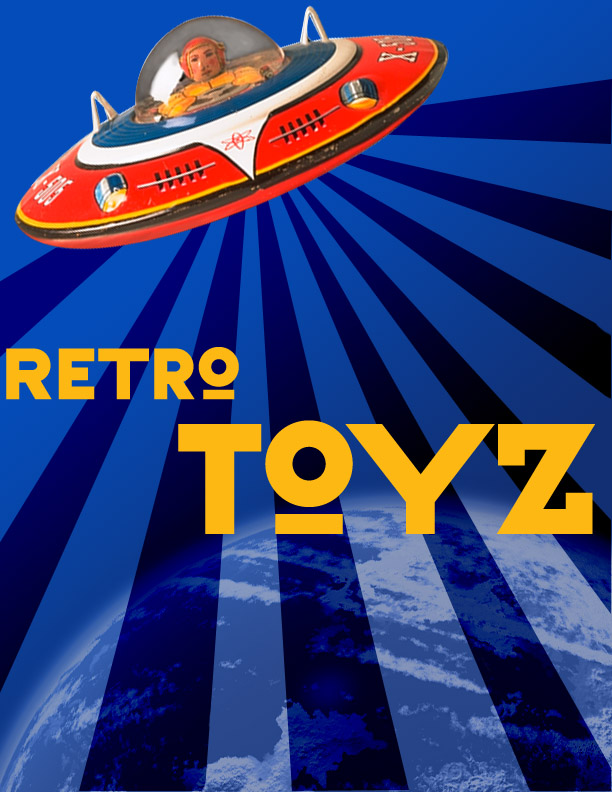
Let’s add a swoosh behind the saucer. We start by making a new layer (Layers panel popup menu-New Layer), and then drawing a path in the shape that we want. The path will show up in the Paths panel.

Then from the Paths panel popup menu (upper right corner) we choose Make Selection. In the dialog box that appears, we have the option to feather the selection, which will give us a fuzzy edge. The larger the pixels number, the fuzzier the edge. (You can also do this from the Selection menu after the selection is made: Select-Modify-Feather).
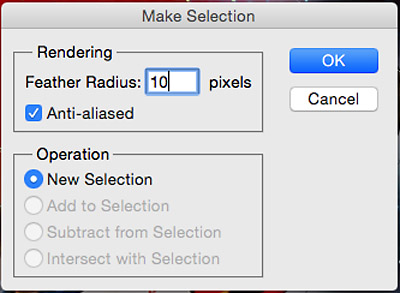
Hit OK and the selection is made. The saucer layer has been hidden to make this part easier.
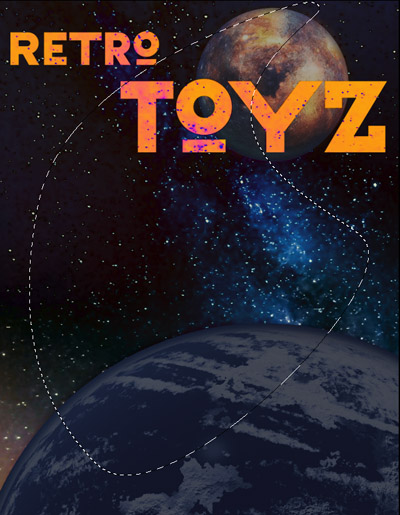
Make sure you’re on the new layer created for this. Now we can fill the selection with whatever paint tools we want, the brush for example. Or we can choose a color and then hold down the Command key on a Mac or Control on a PC and hit delete, which will fill the selection with the foreground color.
You’ll probably want to change the blending mode and opacity, in the Layers panel. In this case it’s Linear Light with 75% opacity.

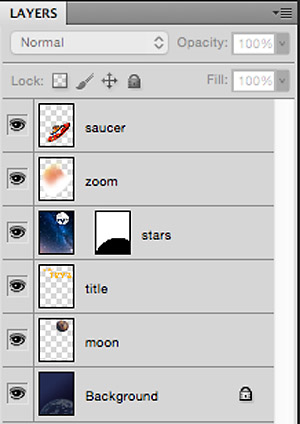
Here are the layers for the finished work file:
And the finished work file. Just to be clear, this is simply an example to give you some ideas for your options and to show you a few techniques. You will be making your own design:
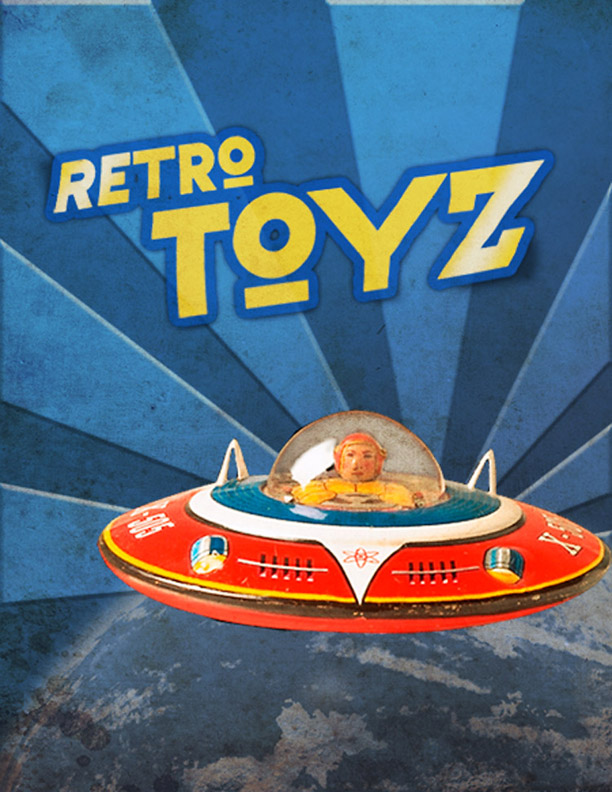
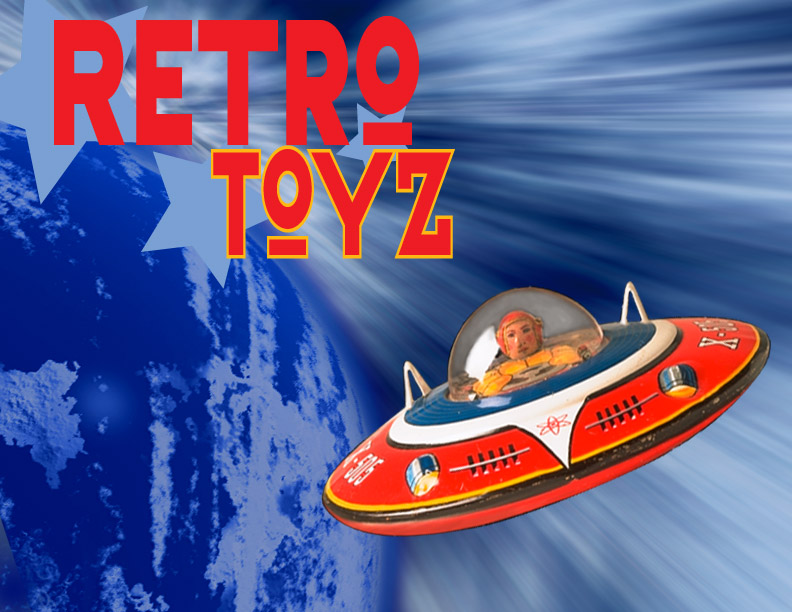
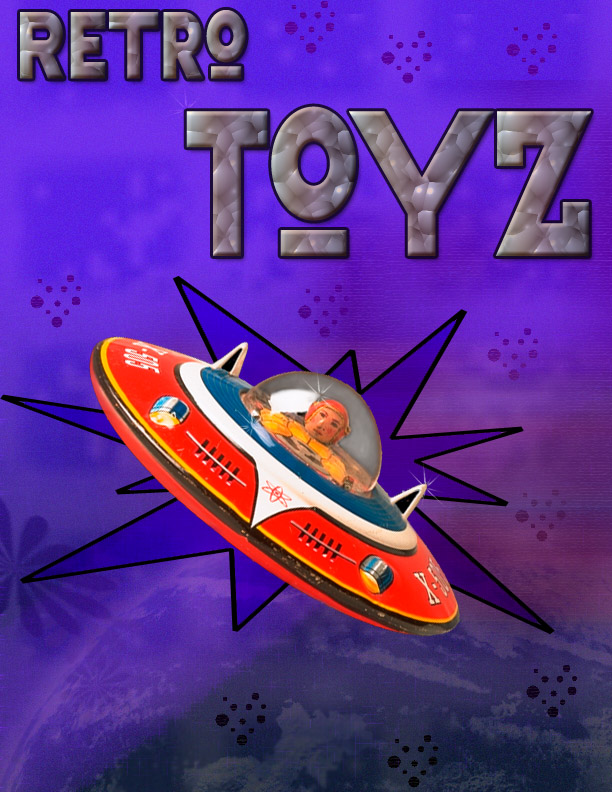
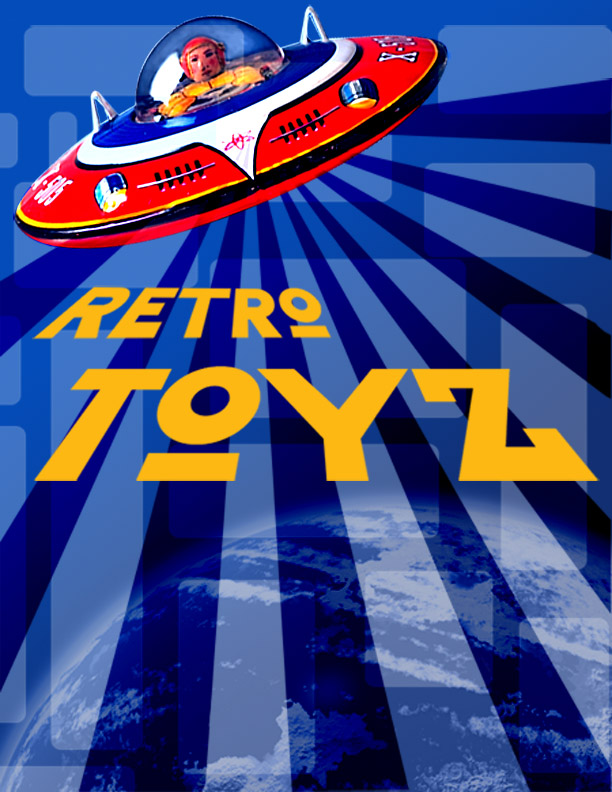
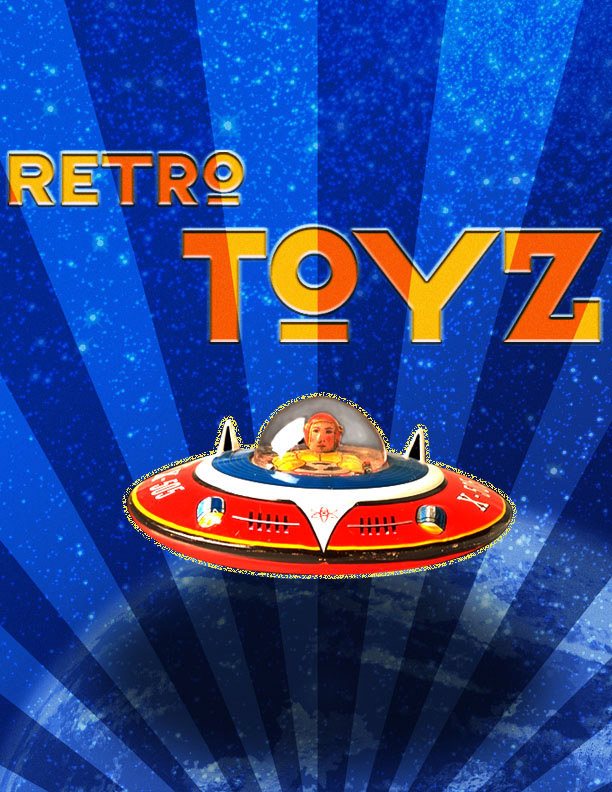
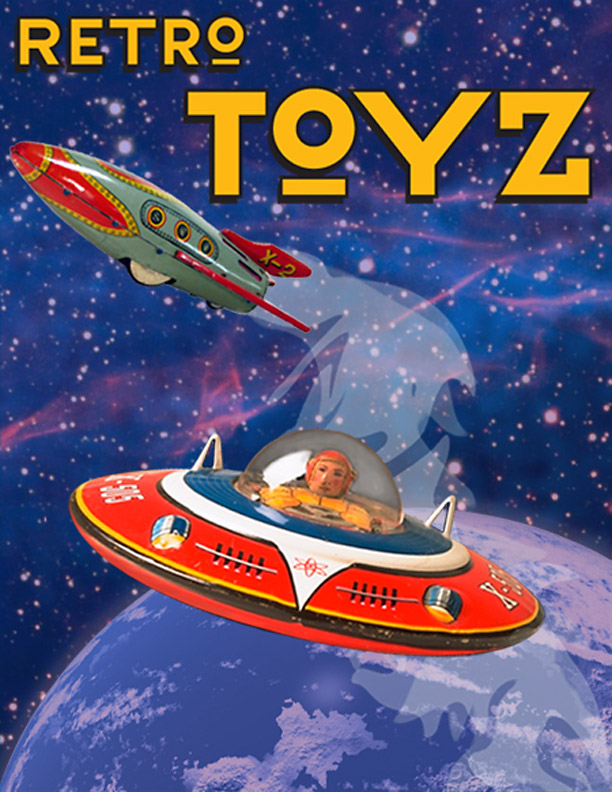
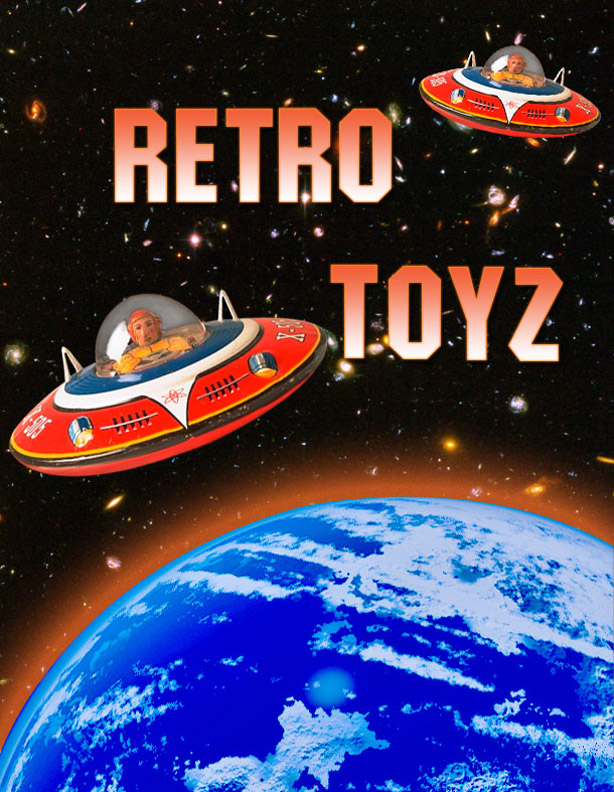
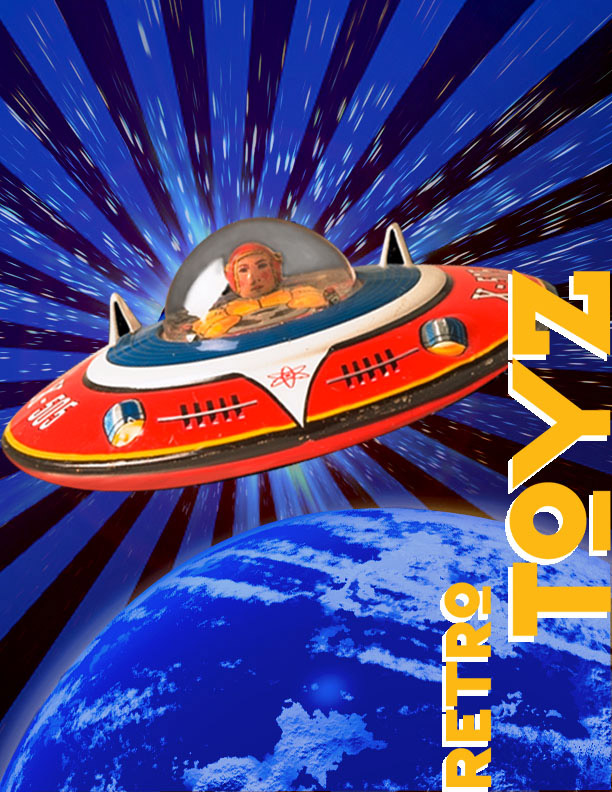
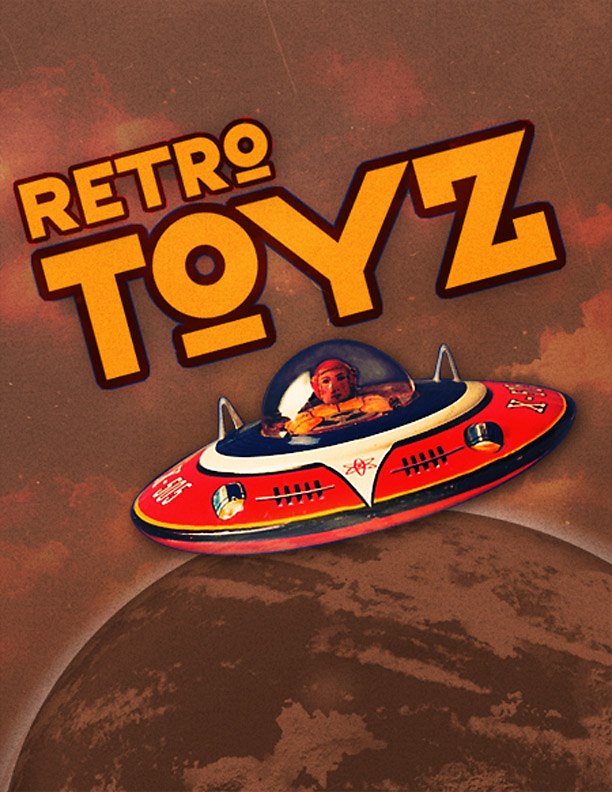
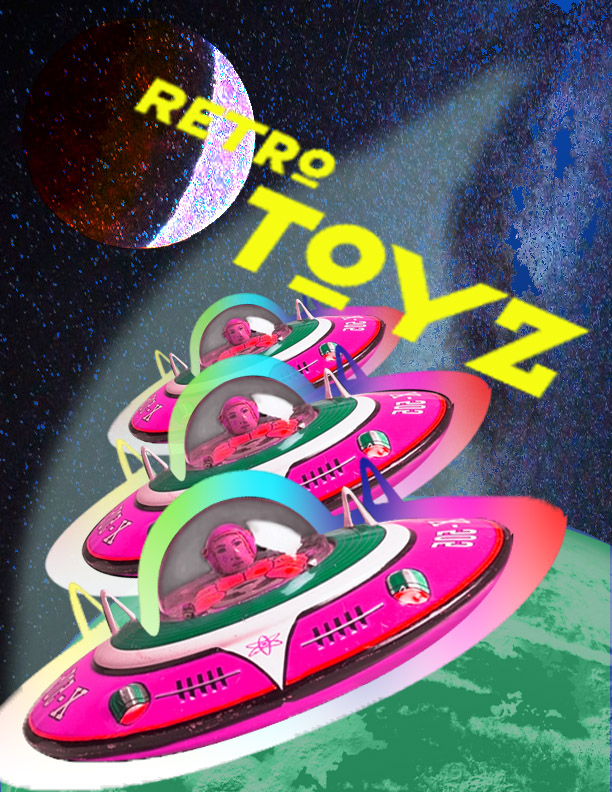
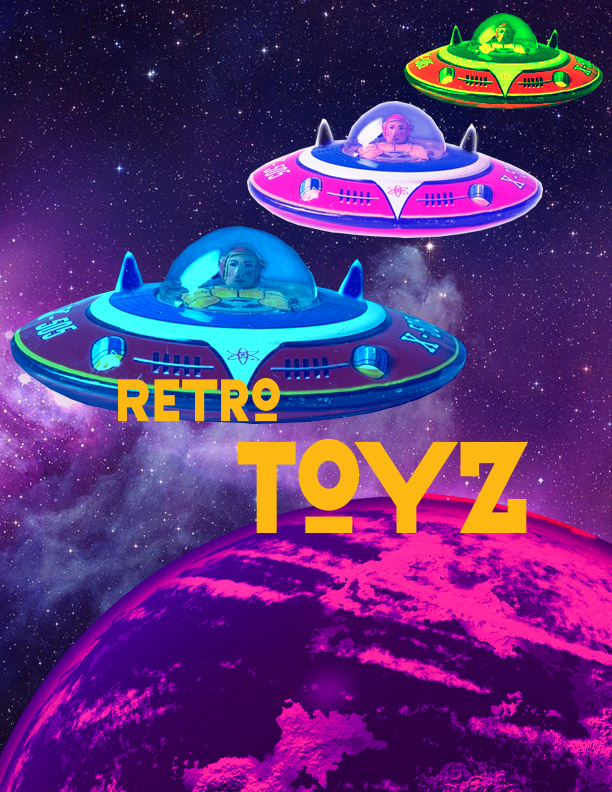
Here are some examples of student work from previous semesters.